--y
Hello!
I`m Fuyuki Hakanashi.
a--
--y
I`d like to introduce myself because everybody is late today.
<(_ _)>
a--
--y
My father works at NASA.
He is the Space science researcher.
And my mother is a violinist.
a--
--y
My hobby is to read books and listen to music.
Favorite is Mozart "Piano Sonata No.11"
The book I`m reading now is Dostoyevsky's "A Gentle Creature".
a--
--y
I don`t have a partner n........
a--
--a
Hey!!!!!!!!!
Why are you introducing yourself before I`m coming!!!
a--
--y
Gaaaaaaaaaaaaaaaaaaa
a--
--a
Don`t sleep!!!!!!
a--
--a
Geez!!!!
a--
--a
Oh???
Hakanashi`s CD player??
She`s leaving it on the desk there...
a--
--a
What`s she listening??
a--
--a
.......Baby Metal........
Liar!!!!!!!!!
a--
--c
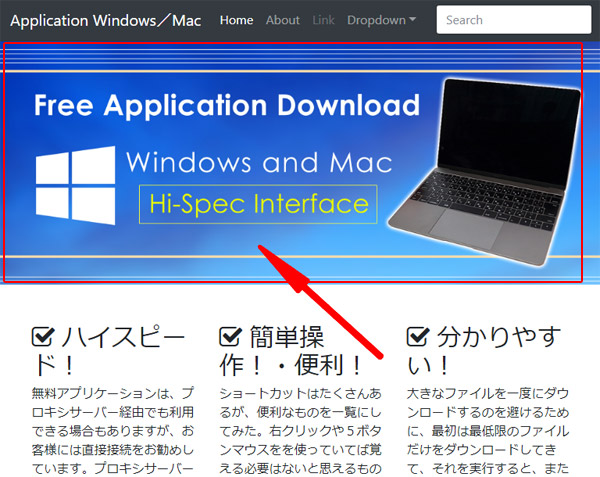
......So today I`ll talk about the main picture but are you ready...
a--
--a
That`s ok!!!!
Go ahead!!!!!
a--
--b
Let`s see the place with the picture here.
a--
--b
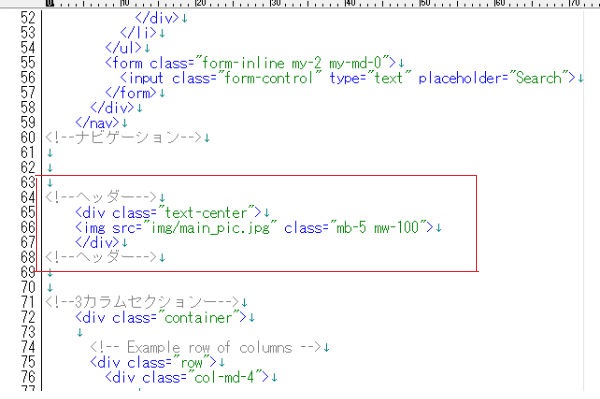
The code is like this.
a--
--a
The code seems really short this time...
a--
--b
Yes.
Not only copy and paste it but we will learn about tags a little bit this time.
a--
--a
Oh, didn`t I take it from my new clothes??
a--
--c
Not a tag of the clothes that you bought recently!!!!!
a--
--a
Ehe♥.
a--
--c
What is that "Ehe♥".
a--
--b
This "tag" is an order giving to the browser, like showing the picture on the canvas or changing the width of the picture.
a--
--a
So you mean like assigning a role to it.
a--
--b
Yes.
For the main picture part, there are mainly two orders giving.
1.Show the picture
2.Move the picture to the center
These two are the orders!!!
a--
--a
I see!!
It`s funny if the picture doesn`t come to the center.
a--
--b
It`s good to remember this know-how because there are many places that you need to make it center in HTML.
a--
--b
Let`s start with No. 1.
Show the picture.
a--
--b
The part that starts from <img is called "img tag"!!
img means "image".
a--
--a
Ok, I understand!!!
....But you say "img", and where is the picture??
a--
--y
Oh, well Miss Himesaki have you forgot about it??
We`ve made the img folder on the first lesson, didn`t we??
a--
--a
Hello baby metal!!!!
a--
--c
W-Well, well....
You should put all the pictures in the "img" folder and use "img tag" to show on the canvas.
a--
--a
Use "img tag" to show on the canvas??
It`s possible to do such a thing??
a--
--y
There is an option called attribute for img tag.
You can assign the place to take the picture of that attribute.
a--
--b
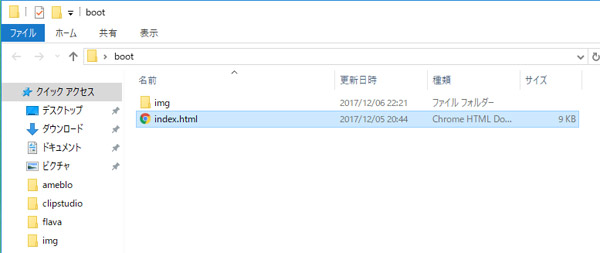
Moreover, there is a way called "path" to assign the place.
a--
--a
Hayato, please take this!!!!!!
a--
--b
Nice pass!!!!
a--
--a
No.
I threw you the train card "PASMO".
a--
--c
That is complicated!!!!!
a--
--b
You see, there is a place called "src"?
This is the attribute.
After that, there is ="" written so you can write "path" inside the double quotation mark.
a--
--a
By the way, what is this slash??
a--
--b
This means to go inside the folder.
You`ll see that img folder is in the same layer with index.html
a--
--b
When you go inside the img folder, you`ll see the "main_pic.jpg" picture, so this is the path that assigns to take the picture from that place.
a--
--a
Ok!!!!!
So if there is another folder inside the img folder, you`ll put two slashes right!!!
a--
--b
Yes.
It`ll be like this.
img/sample/main_pic.jpg
a--
--a
But, wait a minute....
What if the index.html is inside the folder.
a--
--a
For example, like this.
a--
--b
In that way, you can write like this.
../img/main_pic.jpg
../ means to get outside of that folder once.
a--
--a
Ok!!!!!!
Now, I can go inside and outside of the folder to get the pictures.
a--
--b
This is called "relative path", but there are others like "root path" and "absolute path".
I will explain more when you get used to it.
a--
--a
What is the next attribute??
"class"??
a--
--y
Class is linked to CSS (Style Sheet)
"Style" meaning it`s the option that interlocks with the design section.
a--
--a
Oh!!!
From today, I`m now became WEB designer Minori Himesaki!!!!!!
a--
--b
You say design, but this time it`s only giving spaces and changing the width to the picture...
a--
--a
That's a great designer's job, too!!!!
So, please call me WEB designer from today!!!!
a--
--c
Oh well.....ya.....
a--
--y
By the way, how to write with ordinary CSS and Bootstrap is different.
a--
--b
We are learning Bootstrap 4, so let`s obey the Bootstrap rule this time!!!
a--
--b
First, Bootstrap prepares CSS.
a--
--a
Oh, yes.
The navigation appeared on the canvas last time is because we used the CSS inside the Bootstrap right??
a--
--b
That`s right.
So you can just take the Bootstrap CSS by using the "class".
a--
--a
mb-5?? mw-100??
a--
--b
This "mb-5" is "margin-bottom".
This is the CSS that you can put spaces on the bottom.
It means that you`ll able to put spaces on the bottom of the main picture.
a--
--a
Yes!!!!!
"mb" means "margin-bottom"!!!!!
Then, how about "mw"??
a--
--b
"mw" is "max-width".
Maximum width!!!!
a--
--a
So, the maximum width of the main picture??
a--
--b
Maybe this part is a little bit complicated.
This is for the other devices like tablet and smartphone.
a--
--b
To see it with smartphone and tablet, the picture size have to change
a--
--a
Yes, if the sizes are all the same, it`ll stick out from the display.
a--
--b
That`s right.
The picture has to fit in the display size.
a--
--b
Therefore, you have to make the width to 100%.
a--
--a
But, it`s not written 100%.
It`s only written 100.
a--
--b
This is the place where Bootstrap CSS is recorded.
If you write mw-100, the maximum width will be 100% because it is already recorded on the Bootstrap.
a--
--a
Oh that is convenient!!
That means that you can pull out the value by writing the name "mw-100"!!
a--
--b
If you are not using Bootstrap, you need to write CSS by yourself.
a--
--b
You have to write on the different file like this.
a--
--a
So that means that there should be value on "mb-5" as well.
a--
--b
Like this, it uses the amount "rem" for the width.
You should experience yourself to understand how much space it`ll be for 3rem.
a--
--b
There are many other class names for Bootstrap that you can use it!!!
a--
--b
And there are some places that changed for Bootstrap 4.
Maybe this article will find the changed places.
a--
http://cccabinet.jpn.org/bootstrap4/utilities/spacing
--a
So I will place the name on this class of the Bootstrap.
a--
--b
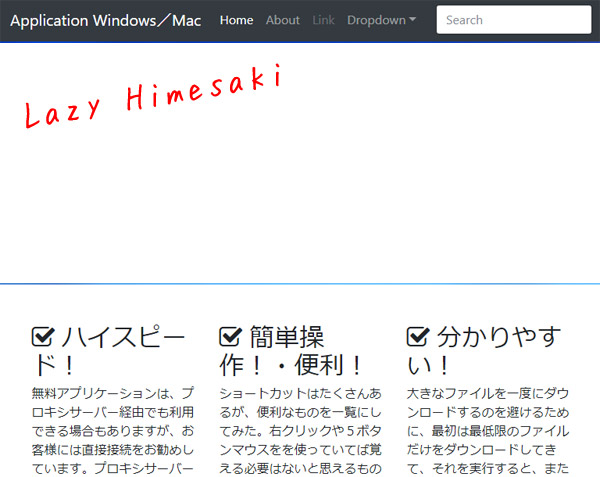
Last, I will tell you about how to center the picture.
Some people are looking with a very wide type display, so you should center the main picture.
a--
--a
Oh, another different tag.
"div"??
a--
--b
This is "division".
It divides the section.
a--
--b
Div only divides the section, so the main order is to assign it to the attribute.
a--
--b
For example, "text-center" is the order to make it center.
a--
--b
Div decides the section, so the element inside <div>~</div> will be in the center.
a--
--b
This time, img is in between.
That makes the picture in the center.
a--
--a
I understand!!!
The name "text-center" already has the order of CSS that makes the element into the center.
a--
--b
That`s right.
a--
--b
If you just wright "text-center" on the class, it`ll make it center.
a--
--a
Very convenient!!
a--
--a
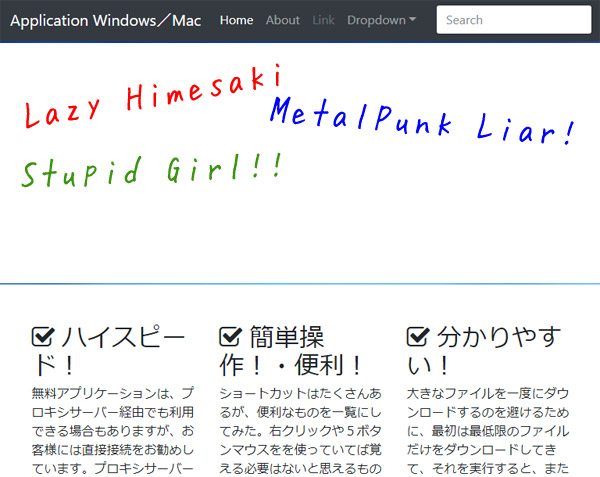
By the way Hayato.
How did you make this picture??
a--
--b
The picture have like illustrations and words, but you can easily process by free tools.
a--
--b
These are the online tools that you can use!!!!
「PIXLR」
https://pixlr.com/
a--
--b
If you are using materials, you can download for free from this website!!!
「PhotoAC」
https://www.photo-ac.com/
a--
--y
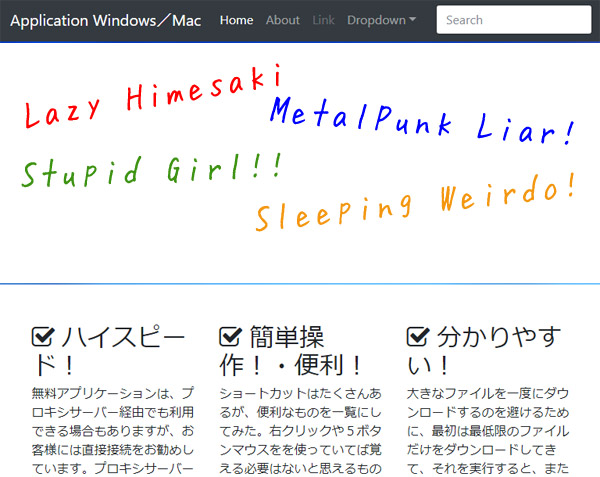
Lazy~~~、 Himesaki~~~~
a--
--a
You did it!!!!!
a--
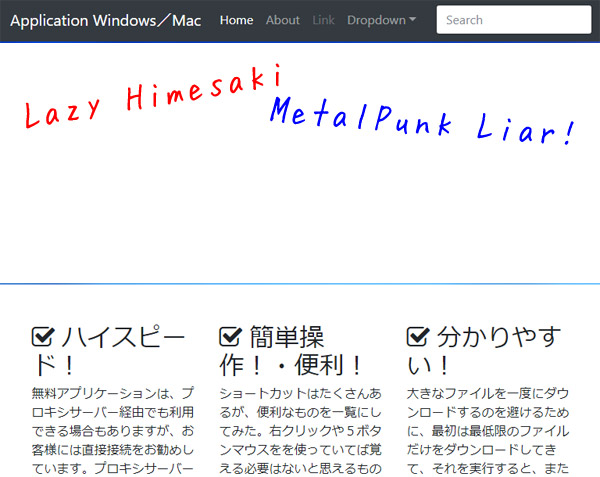
--a
Metal Punk~~~ Liar~~~~
a--
--y
Stupid~~~~~ Girl~~~~~
a--
--a
Sleeping~~~~~ Weirdo~~~~~
a--
--a
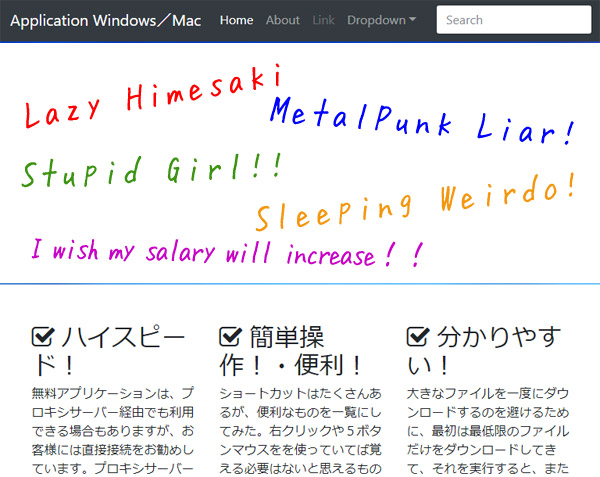
Please join Hayato!!!!!
a--
--c
O-Oh....
a--
--b
I wish my salary will increase!!
a--
--a
Do not write your wish!!!!
a--
--y
That`s right!!!!
a--
--c
Oh, it just popped on my mind....
a--
c--
--f
Oh, Perhaps, Baby Metall is great!!!!!
Zugyun!! Dogyun!! Yada Yada!NEVER!
a--